
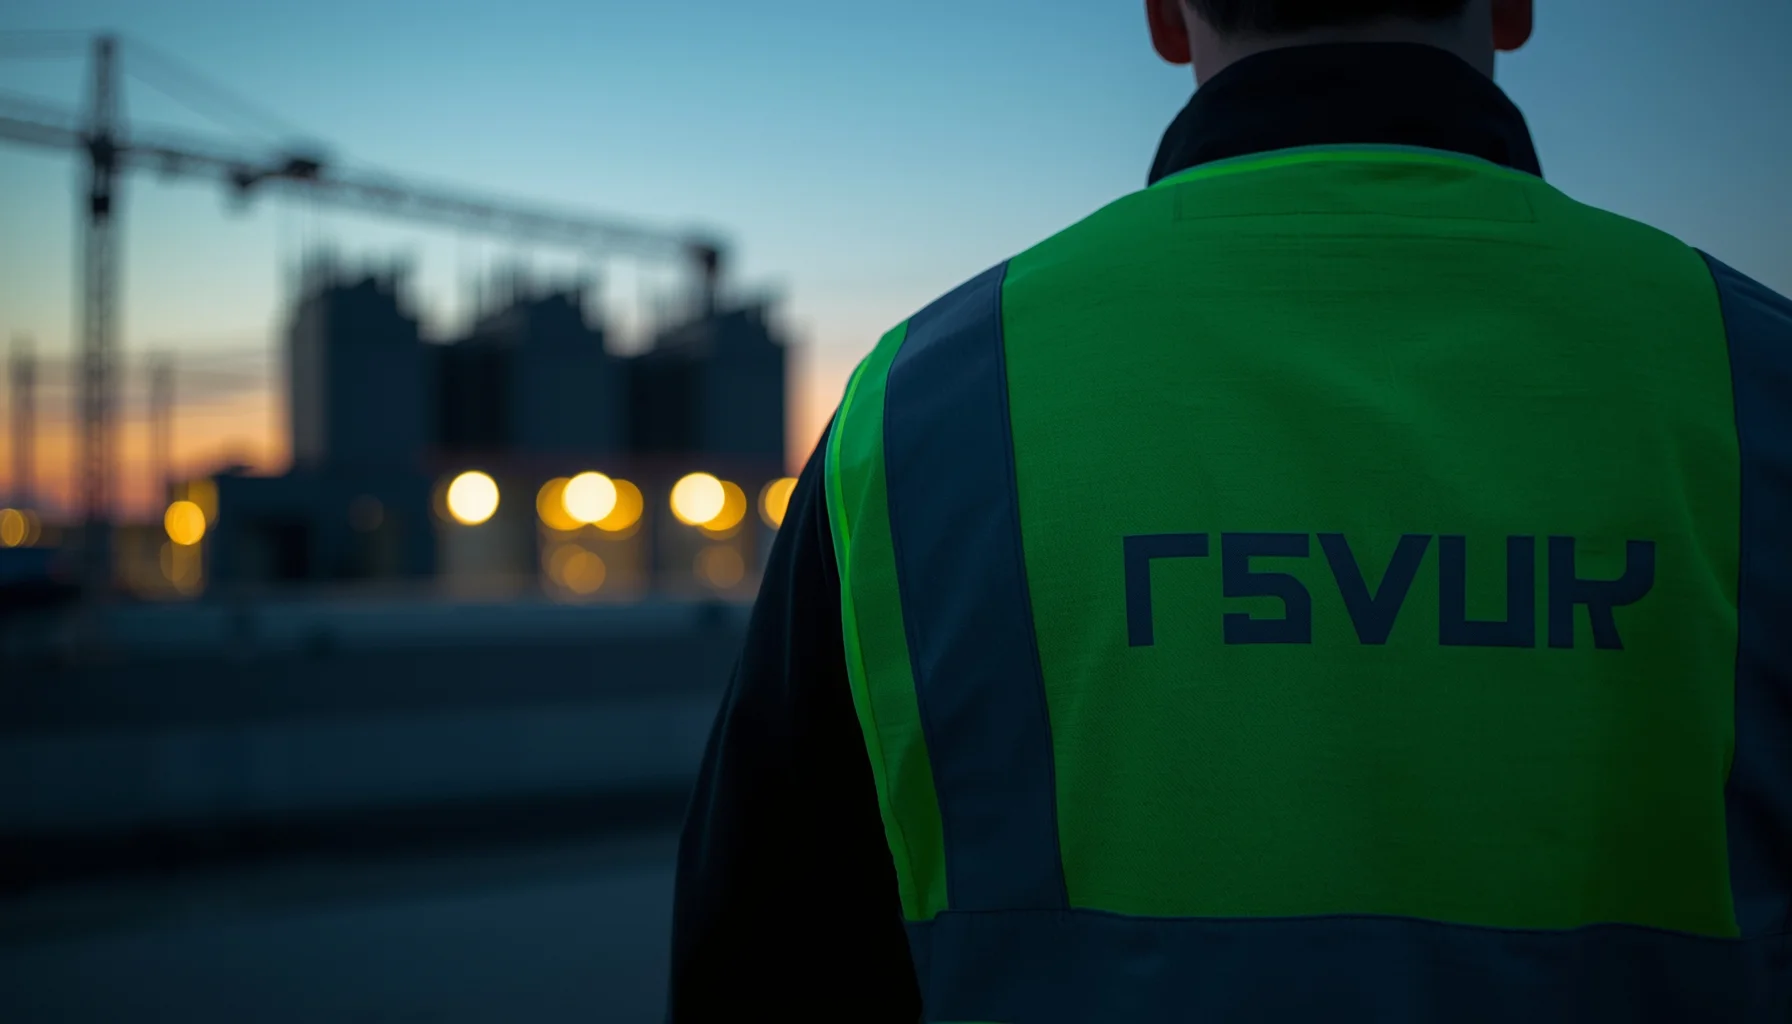
Corporate identity hi-vis apparel 2026 brings safety clothing and company branding together: workers remain visible, while logos and team identifiers help create a consistent professional presence. The key is to customize garments without blocking reflective tape or reducing required fluorescent material. Choosing the right garment, placement, and application method makes branding more useful—and helps protect the garment’s intended safety function.
What Corporate Identity Hi-Vis Apparel Means on the Job
Corporate identity hi-vis apparel is high-visibility workwear customized with company logos, names, or colors. Its purpose is twofold: support visibility in work environments and make it easier to recognize a company’s personnel as a coordinated team.
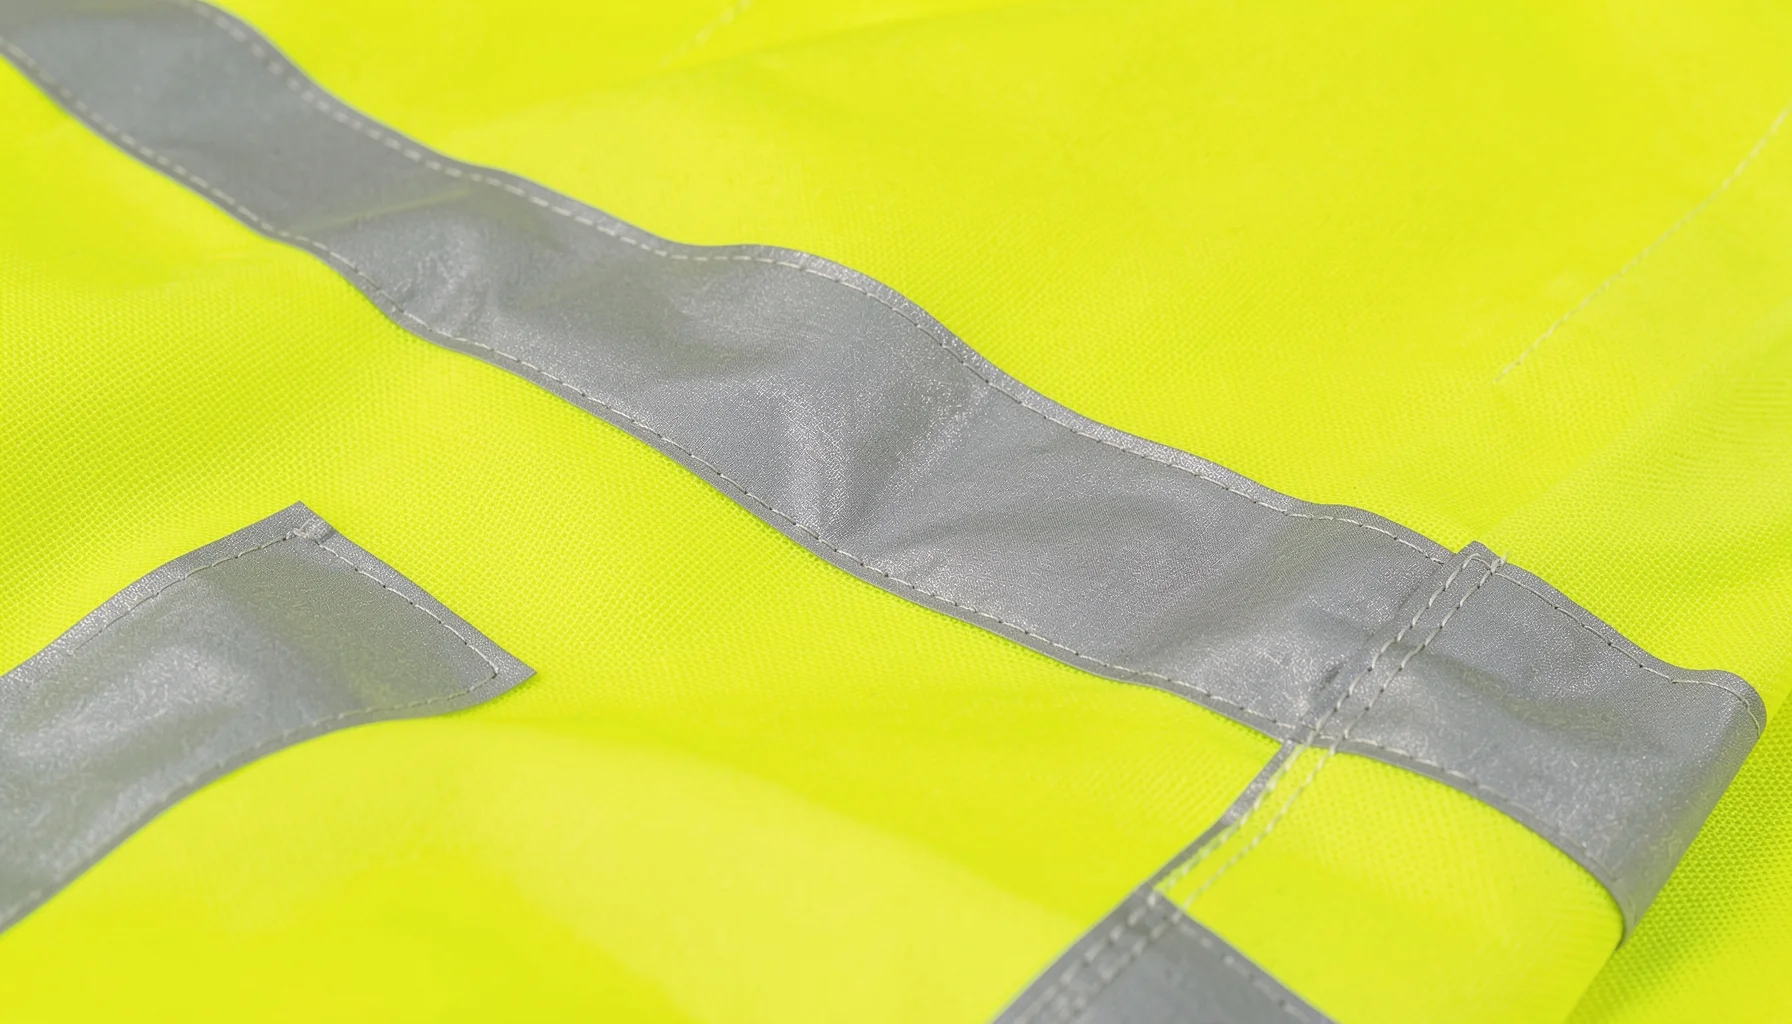
The Future of Workwear: Corporate Identity Hi-Vis Apparel 2026 – What Corporate Identity Hi-Vis Apparel Means on the Job
More than a logo on a safety garment
Hi-vis apparel starts with a garment selected for its intended work environment and the applicable ANSI/ISEA 107 requirements. Customization is added to that foundation; it should not compromise the placement or visibility of fluorescent background material or retro-reflective tape.
In practice, a branded uniform can help people distinguish authorized employees from visitors or other workers on a busy site. It can also create a more consistent impression across field teams who interact with customers, the public, or partner organizations. These benefits depend on clear identification and thoughtful design—not on making the garment more visually complicated.
Corporate identity may include a company logo, a worker’s name, or a consistent color treatment. Each element should be legible against the garment’s high-visibility background, and each should fit within the available space without obscuring safety features.
How the garment, safety features, and branding work together
Think of a branded hi-vis garment as a system with three connected elements:
- The garment: A shirt, vest, jacket, rainwear, pair of pants, or coverall selected for the job.
- The visibility features: Fluorescent background material and retro-reflective tape arranged to meet the garment’s intended requirements.
- The identity layer: A logo, name, or other approved mark applied in an appropriate location.
The design succeeds only when all three work together. A prominent logo that obstructs reflective tape is not a good solution, even if it looks polished. Likewise, an attractive color treatment is not useful if it makes identification difficult against the garment’s fluorescent fabric.
For organizations, this means treating customization as part of apparel planning—not an afterthought. Start with the workwear and its required class, then determine where branding can fit.
Where branded hi-vis is used
Construction, utility contracting, transportation, logistics, and industrial facilities all rely on teams working in environments where visibility and identification matter. Individual professionals may need a name or company mark; a larger organization may want consistent branding across multiple roles and garment types.
The product range supports different conditions and job needs:
- Vests provide a recognizable outer layer.
- Shirts can suit everyday workwear programs.
- Jackets and rainwear are relevant when outer protection is needed.
- Pants and coveralls extend the uniform approach across more of the body.
The garment should reflect the task and environment, not merely the branding plan. A unified identity can span a product range, but the exact garment and safety requirements still need to be assessed for each role.
Specifications That Guide Safe Customization
Safe customization preserves the garment’s intended visibility features while making company identity readable. The practical design controls are garment selection, logo placement, contrast, application method, and verification against the reflective layout.
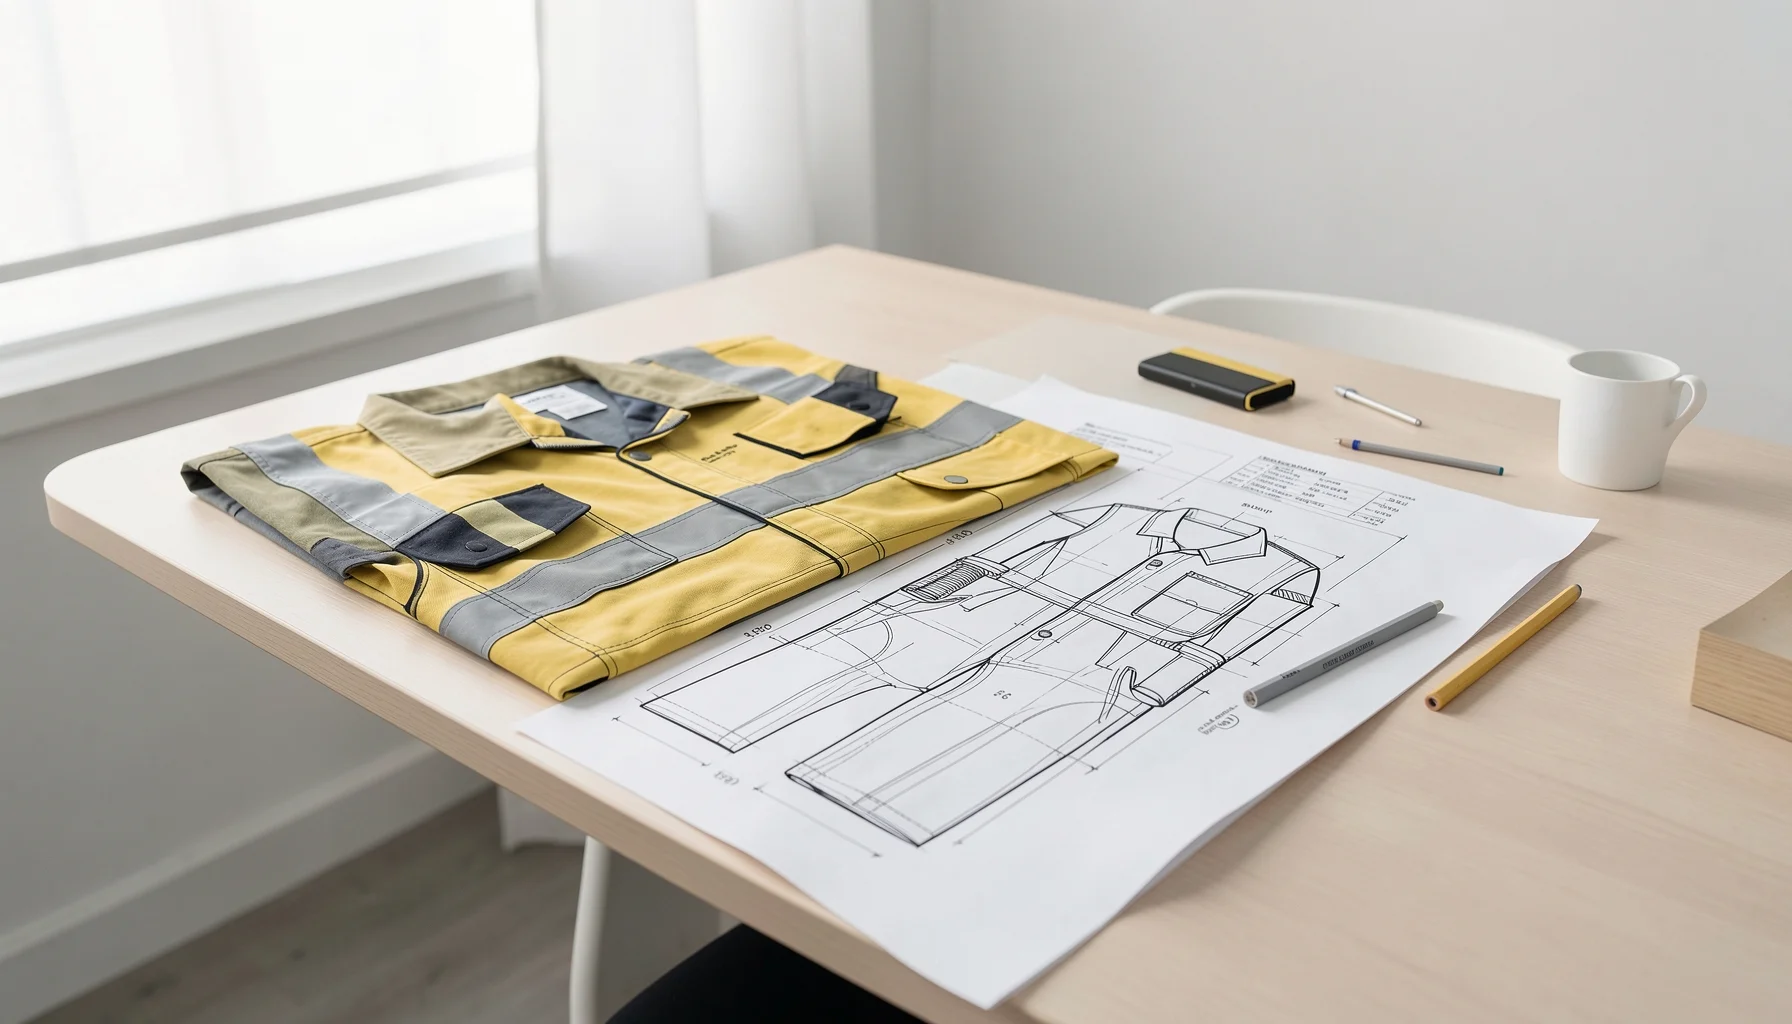
The Future of Workwear: Corporate Identity Hi-Vis Apparel 2026 – Specifications That Guide Safe Customization
Technical planning at a glance
Use the following matrix as a design and review aid. It describes the considerations in a branding workflow; it does not replace checking the garment’s labeling or confirming applicable requirements for a specific job.
| Design element | Practical specification or constraint | Review question |
|---|---|---|
| Garment selection | Choose a hi-vis item that meets the ANSI class required for the work environment | Is this garment appropriate for the role and conditions? |
| Fluorescent material | Preserve the required fluorescent background area; avoid covering it with branding | Does the finished design leave the necessary background area visible? |
| Retro-reflective tape | Keep tape unobstructed and avoid creating gaps larger than 50 mm in reflective material | Does the logo or application interrupt the tape layout? |
| Logo placement | Consider the chest, back, or sleeves, based on garment construction and available space | Can the mark be seen without overlapping safety features? |
| Logo color | Prefer one- or two-color artwork that contrasts with the fluorescent background | Is the mark clear at a glance on the actual garment color? |
| Printing on vivid fabric | A white base layer of ink may help the logo show clearly | Has contrast been assessed on the finished material? |
| Application method | Screen printing, embroidery, or heat transfer may be used | Is the method suitable for the design and placement? |
| Final verification | Review the customized garment against its reflective and fluorescent layout | Has someone checked the finished item before broader use? |
Choosing the logo position and application method
A left-chest logo is a familiar location for close-range recognition. A logo on the upper or lower back can support identification from behind or at a distance, while a sleeve mark may provide another branding location. None should be chosen without checking the garment’s tape placement and available fluorescent surface.
Screen printing and heat transfer can accommodate logo artwork, while embroidery offers another customization option. The appropriate choice depends on the design and garment. The essential point is not to assume that a method or location is safe by default: evaluate the finished placement against the visibility features.
On vivid fluorescent fabric, a white base layer of ink may improve the appearance of a printed logo. This is a design consideration, not permission to enlarge the mark until it covers more of the garment. Keep the logo controlled, legible, and separated from reflective tape.
Understanding the 50 mm constraint
The grounded design guidance calls for logos not to create gaps larger than 50 mm in retro-reflective material. Treat this as a specific layout check when reviewing a mark near or across reflective tape. A logo that interrupts a strip may alter its continuity, so the placement needs careful inspection rather than approval based only on a screen mock-up.
The broader principle is simple: do not cover or disrupt reflective features to make room for branding. Confirm the actual garment’s reflective layout, then position the logo on a usable area such as the chest, back, or sleeve. If the available space is too limited, reduce or relocate the mark instead of forcing it into a safety-feature zone.
For a team program, review representative finished garments before applying the same design across an order. This provides an opportunity to catch layout issues early and make adjustments before the design becomes the standard.
A Practical Workflow for Branded Hi-Vis
A reliable workflow moves from garment selection to placement, artwork, application, and final inspection. Each step should preserve the workwear’s intended visibility features while producing a clear, consistent company identity.
Step 1: Match the garment to the work
Begin by identifying the work environment, the employee’s role, and the required ANSI class. Select the base item—such as a shirt, vest, jacket, rainwear, pants, or coverall—based on that need. Do not select a garment solely because it offers the largest or most convenient space for a logo.
For teams with varied roles, document which garments belong to which work conditions. A transportation employee and a construction worker may need different garment types, even if both wear the same company identity. The branding system can be consistent while the base garments differ.
Before customization, check the garment’s existing fluorescent areas and reflective tape. This gives the design team a real layout to work around rather than an assumed blank surface.
Step 2: Map placement before preparing artwork
Choose a proposed logo position on the chest, back, or sleeve. Compare the placement with the garment’s construction, reflective tape, seams, and fluorescent background area. A mock-up is useful, but it should represent the actual garment layout as closely as possible.
Set practical artwork limits before production:
- Keep the design to one or two colors where possible.
- Make sure the logo contrasts against the fluorescent fabric.
- Avoid crossing or covering reflective tape.
- Confirm that the mark does not create a gap larger than 50 mm in retro-reflective material.
- Use a white ink base layer where appropriate for printing on vivid fabric.
If a logo has fine detail, review whether it will remain readable at the intended size. Simplifying artwork can improve legibility without increasing its footprint.
Step 3: Select the application and verify the finished item
Choose screen printing, embroidery, or heat transfer according to the artwork, garment, and intended placement. Coordinate the method with the customization provider, then review the applied design on the garment itself. A digital proof can help with positioning, but it cannot substitute for checking the physical result.
The final review should confirm that:
- The logo is legible and positioned consistently.
- Reflective tape remains unobstructed.
- The branding has not displaced too much fluorescent background material.
- The overall design matches the approved artwork and team standard.
Rinbay’s customization options include branded workwear applications. As one example of how a distinctive design can coexist with personalized workwear, teams can look at a custom pink hi-vis hoodie with a name and reflective design. The general lesson is to assess the actual garment and placement—not to assume every design can be transferred unchanged to every item.
Design Pitfalls, Team Rollout, and the 2026 Outlook
The most effective branded workwear programs balance visibility, comfort, identification, and consistency. Avoid treating the logo as the main design constraint: the garment’s safety features and the worker’s needs should guide the decisions.
Common pitfalls—and how to correct them
Pitfall: Placing the logo over reflective tape.
A visually convenient location may interrupt the reflective layout. Map the tape first, then move or reduce the mark so it does not obstruct the safety feature.
Pitfall: Using too much artwork.
Large, multi-color graphics can compete with the garment’s high-visibility background. Simplify the logo, prioritize contrast, and use a smaller mark where necessary.
Pitfall: Approving only a digital mock-up.
The finished garment may differ in proportion, material, or placement from a flat design. Inspect a physical sample before establishing a team-wide standard.
Pitfall: Applying one garment choice to every job.
A consistent company identity does not mean every employee needs the same item. Select the garment and class for the work environment, then adapt the branding to fit.
Pitfall: Treating customization as proof of compliance.
A logo does not establish that a garment meets a particular requirement. Check the garment’s own information and evaluate the customized layout separately.
A practical example: standardizing a field team
Imagine a utility contractor outfitting employees who work in different field roles. The organization first identifies the required garment types for those roles. It then establishes a consistent logo treatment, such as a contrasting left-chest mark, while choosing an appropriate back or sleeve placement only where the garment provides clear space.
Before rollout, the team reviews customized samples for tape obstruction, fluorescent area, contrast, and consistent positioning. If a back logo conflicts with reflective tape on one jacket style, the company can adjust that garment’s placement without abandoning the broader identity system.
This approach is more dependable than ordering one design across a mixed product range without checking individual layouts. It also helps workers recognize the uniform as part of a coherent program while allowing the apparel to suit different tasks.
2026 priorities: comfort, complete systems, and adoption
In 2026, industry attention is shifting toward complete PPE systems, with more focus on ergonomic fit, heat management, and sustainable materials—not just the vest in isolation. Material trends also include moisture-wicking fabrics, antimicrobial treatments, and breathable micro-mesh intended to help manage heat. These are trends to evaluate against garment specifications and the needs of the role, not universal guarantees of performance.
Design is evolving too. Two-tone looks and streamlined, streetwear-inspired silhouettes are being used to make hi-vis apparel more appealing to workers. A garment people are comfortable wearing may be easier to adopt as part of a uniform program, but visual appeal must never take precedence over preserving the garment’s required visibility features.
Rinbay’s perspective, informed by more than a decade of textile branding and industrial apparel experience, is that identity works best when integrated into the garment plan from the beginning. For employers, the strategic opportunity is to align a consistent visual identity with practical garment choices, clear placement rules, and a repeatable inspection process.
FAQ
What does corporate identity hi-vis apparel include?
It is high-visibility workwear customized with company identifiers such as logos, employee names, or coordinated colors. Common garments include shirts, vests, jackets, rainwear, pants, and coveralls. The branding should support recognition without blocking reflective tape or covering required fluorescent background material. Employers should choose garments based on the work environment and applicable ANSI class, then review the customized layout to ensure the design remains appropriate for the garment.
Where should a company logo go on a hi-vis garment?
Common locations include the left chest, back, and sleeves. The best position depends on the garment’s reflective tape, fluorescent areas, seams, and usable space. A chest logo can support close-range identification; a back placement may help identify a worker from behind, if it does not interfere with safety features. Review the actual garment before approving artwork, and do not place branding over reflective tape merely to achieve a preferred layout.
Which branding methods can be used on hi-vis workwear?
Screen printing, embroidery, and heat transfer are available customization methods. The right choice depends on the design, garment, and placement; no method should be assumed suitable in every case. For printed logos on vivid fabric, a white base layer of ink may improve contrast. Regardless of method, inspect the finished garment to confirm the logo is readable, reflective tape remains unobstructed, and the customization has not compromised the intended visibility layout.
How can a business check that customized hi-vis apparel is suitable?
Start by selecting a garment that meets the ANSI class required for the work environment. Then compare the planned and finished branding against the garment’s fluorescent background and reflective tape. Check that tape is not obstructed and that the logo does not create gaps larger than 50 mm in retro-reflective material. Review a finished sample before wider use, and verify garment information and requirements separately; customization alone does not establish compliance.